How to Build a Rustic Coffee Table (Step by Step)
Some of our favorite projects are the ones that look like they've already lived a long life — the kind of furniture that feels like it has a story before it ever lands in your living room.
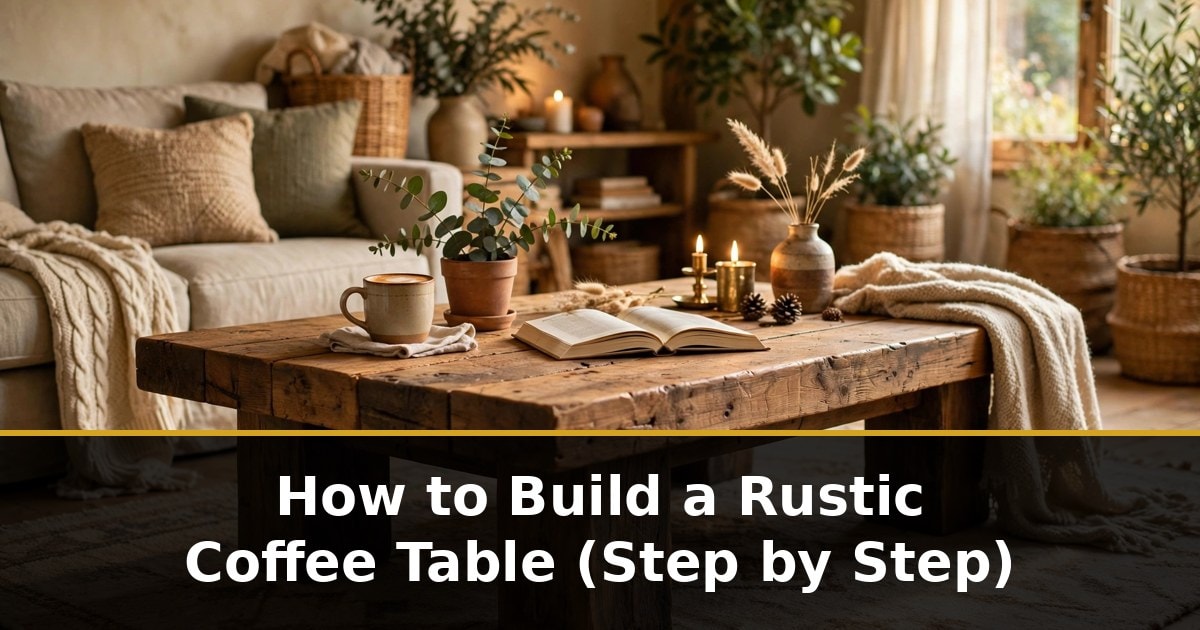
Some of our favorite projects are the ones that look like they've already lived a long life — the kind of furniture that feels like it has a story before it ever lands in your living room.
This rustic coffee table is exactly that. We shared a short video of the build on Pinterest, and y'all have loved it — thousands of views, hundreds of clicks, and a comments section full of the same questions: What brackets are those? What stain color is that? What size boards do I need?
A 57-second video can only show so much. So here it is: the full step-by-step, with the details the video can't show.
What you'll need
Materials
- Wood planks for the tabletop
- Boards for the legs (you'll glue these together into thick blocks)
- Wood glue
- Flat brackets (for securing the top from underneath)
- Wood screws
- L-brackets (for attaching the legs)
- Minwax stain in Special Walnut
- Minwax Polycrylic protective finish in clear matte
Tools & supplies
- Drill
- Hand tools for distressing (a hammer, a chain, a chisel — whatever you've got)
- Gloves
- Floor protection (a drop cloth or plastic sheeting) — you'll build and glue right on top of it
A quick note on sizing (please read this first)
Here's the honest truth: the video doesn't give measurements, and we get asked about them constantly. So we won't pretend there's an exact cut list hiding somewhere.
What we can do is point you to a good starting point. A common coffee table size is about 48 inches long × 24 inches wide × 18 inches tall — that's a comfortable fit in front of most sofas. And if you want that thick, chunky top like the one in the video, wide planks are the secret: boards in the 2×10 range give you that heavy, solid look without any fancy joinery.
Measure your space, sit on your couch, and check that 18 inches puts the top right around seat height. Then adjust the numbers to fit your room. That's the beauty of building it yourself — it ends up the size your family needs.
Step 1: Lay out and glue the tabletop
Spread your floor protection down first — this build starts on the floor, and glue has a way of getting everywhere.
Lay your planks side by side, best face down, and arrange them until the grain and color look right to you. Run a bead of wood glue along the edges where the planks meet, press them together snugly, and wipe off any squeeze-out. Let the glue do its work and dry before you move on.
Step 2: Secure the top from underneath
Flip the top over (or reach underneath) and bridge the seams between planks with flat brackets, fastening them with wood screws. This is what locks the individual boards into one solid slab. Space a few brackets along the length of the top so every seam gets reinforced.
Step 3: Glue the leg boards into blocks
Those chunky legs aren't single timbers — they're boards glued together into thick blocks, and that's good news for your budget.
Spread glue between your leg boards, stack and press them together, and let them dry into solid blocks. Build one block for each corner. Thick legs are what give this table its sturdy, farmhouse stance, so don't be shy about the size.
Step 4: Attach the legs with L-brackets
Set the tabletop upside down and position a leg block in each corner. Attach every leg with L-brackets on both sides of the leg, screwed into the underside of the top and into the leg itself. Bracketing both sides keeps the legs from wobbling — important in a house where a coffee table doubles as a footrest, a homework desk, and occasionally a stage.
Step 5: Distress the wood
Now the fun part. Take your hand tools and give the wood some history: dents from a hammer, a few dings from a chain, worn edges softened with a chisel. Go easy at first — you can always add more character, but you can't take it back.
This step is what separates "brand-new lumber" from "rustic." The stain in the next step will settle into every mark you make and bring it to life.
Step 6: Two coats of Special Walnut stain
Wearing gloves, apply Minwax stain in Special Walnut — and plan on two coats. The first coat gives you the warm brown base; the second deepens it into that rich, weathered tone you see in the video. Let each coat dry according to the can before the next one goes on.
Step 7: Seal it with Polycrylic
A coffee table works for a living — sweet tea glasses, coffee mugs, feet, board games, and whatever else a busy family puts on it. Protect the top with Minwax Polycrylic in clear matte. The matte finish keeps the rustic look (no shiny plastic sheen) while giving you a surface that can handle real life.
Step 8: Style it
Bring it inside, set it in front of the couch, and make it yours. A tray, a stack of books, a plant, a candle — or, if your house is like ours, leave a little room for the feet and the popcorn bowl. A table like this just gets better the more life happens on it.
While you're in project mode…
A good build day calls for a good supper at the end of it. We put 69 of our family's heirloom Louisiana recipes into a free app — pick a dish, build your grocery list, and cook something worth sitting down to. Read all about it in Our Family Cookbook Is Now a Free App.
Your questions, answered
What brackets hold it together?
Two kinds: flat brackets underneath the top to lock the planks together, and L-brackets on both sides of each leg to attach the legs to the top.
What stain color is that?
Minwax Special Walnut, two coats. That's the warm, weathered brown in the video.
What finish goes on top?
Minwax Polycrylic in clear matte — protection without the shine, so it still looks rustic.
What boards should I buy?
Start with the sizing note above: roughly 48 × 24 × 18 inches overall is a common coffee table footprint, and wide, chunky planks (around 2×10) give the top that thick look. The legs are plain boards glued together into blocks, so no specialty timbers needed.
Stay connected
Building things with your hands is one way to slow down and be present with your family. Here are two more we love, and they're both free:
- The Marriage Minute — one short tip a day to keep your marriage strong. Sign up at fulllifecrew.com/marriage-minute.
- The Parenting Minute — one tip, one activity, and one conversation starter a day for parents. Sign up at fulllifecrew.com/parenting-minute.
If you build this table, we'd love to see it. Save the pin, send us a picture, and tell us what stain you chose — and may your living room be as full of life as ours.
— Jareth & Deb
Explore Topics
Written by
Jareth & Deb
Content creator and writer sharing insights and stories.